Your first stencil is free
Photograph a tattoo on skin, or upload a sketch, a design or a reference picture. The AI removes the skin, glare and background and gives you black line art on white, ready for transfer paper or a stencil printer.
Made for tattoo artists, apprentices and anyone planning their next piece.
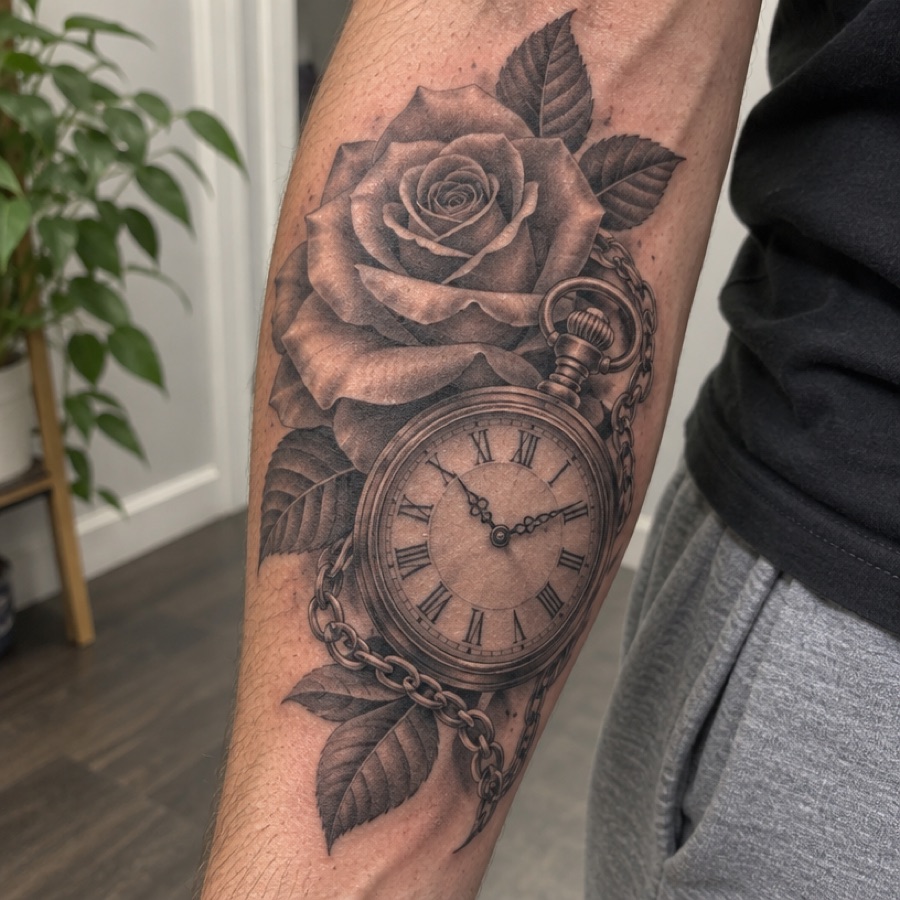
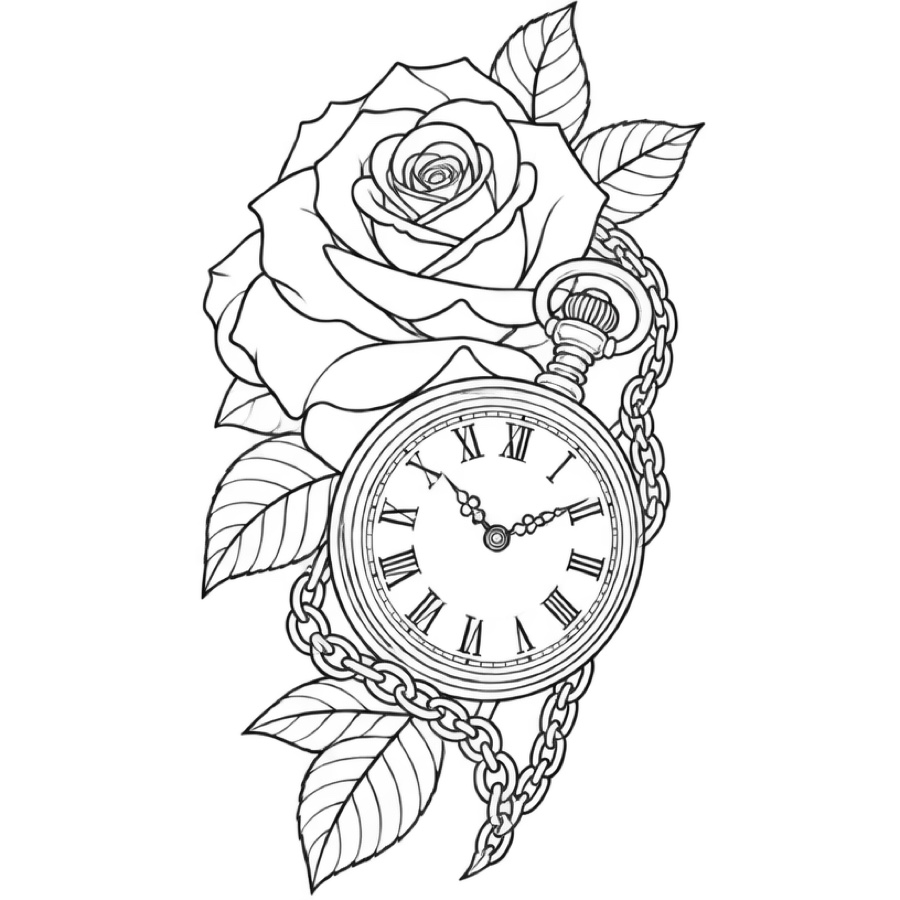
These three stencils came out of this tool from an AI-generated sample photo of a forearm tattoo, untouched. Pick a style and drag the slider to compare it with the photo. Nothing is uploaded and nothing is used up.
No sign-in needed
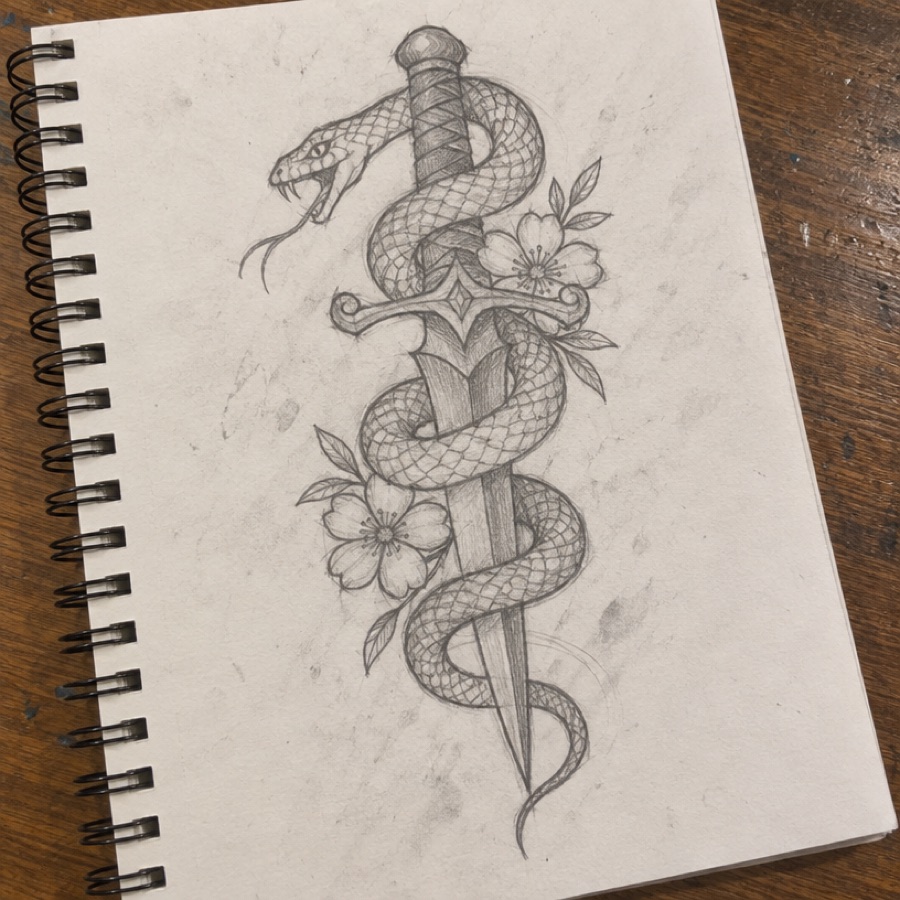
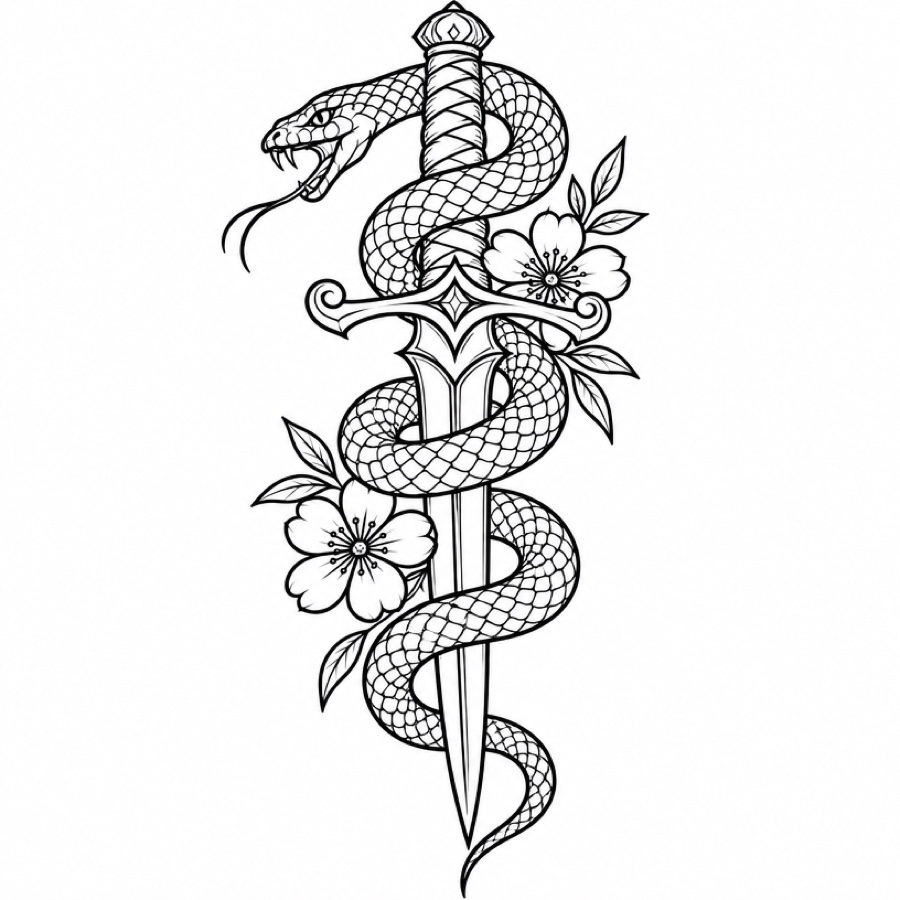
The pictures on the left are AI-generated samples. Each stencil on the right came out of this tool from the picture beside it, untouched.
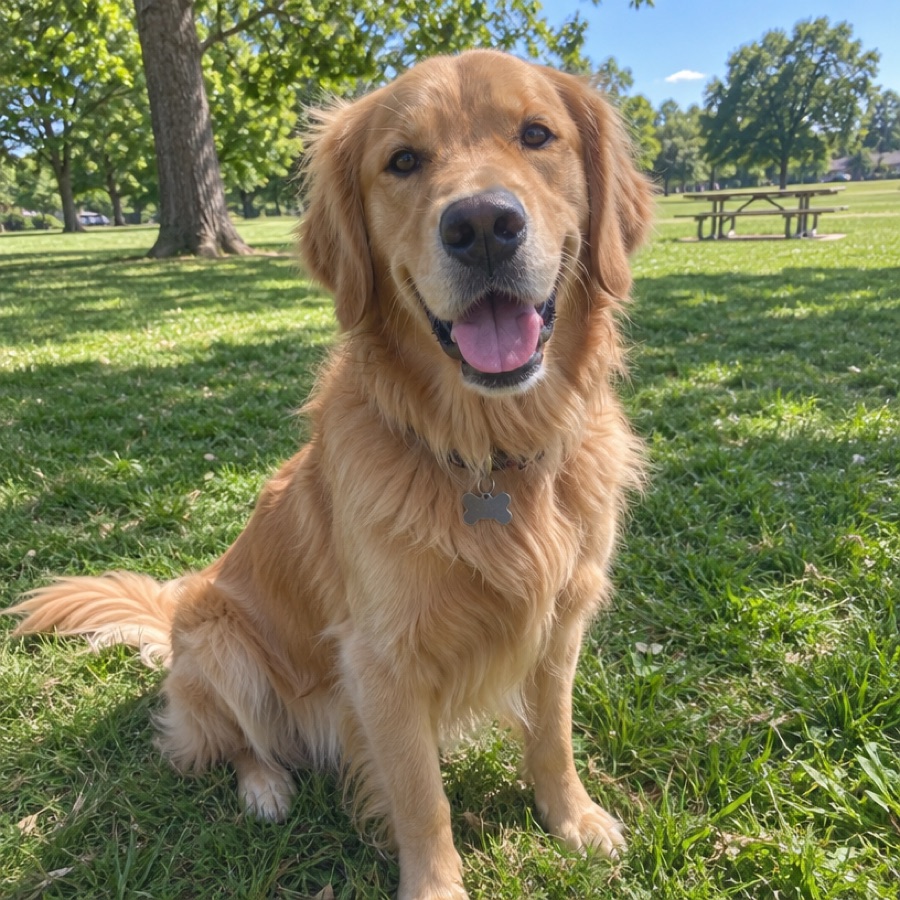
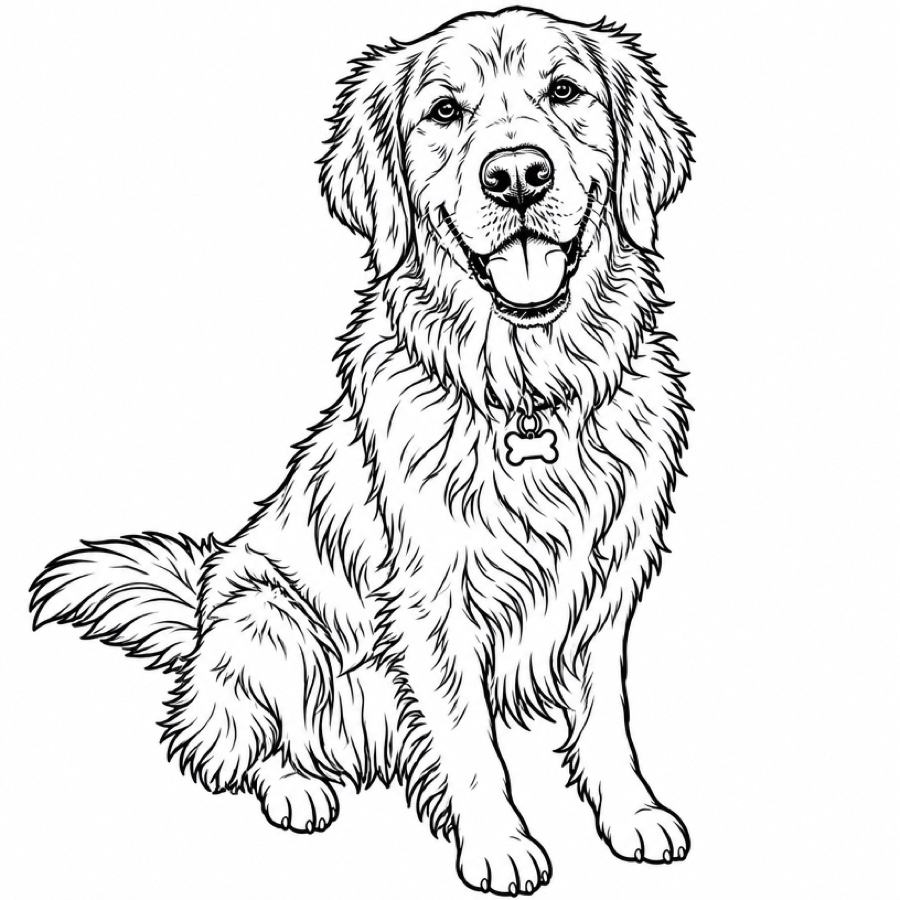
Tracing a reference by hand takes twenty minutes. This takes about thirty seconds.
A good stencil is only useful if it prints at the size you planned. This is the routine that keeps the design the right width on paper and on skin.
Measure the area on the body with a soft tape and decide how wide the tattoo should be. Width here means the drawn design, not the paper around it.
Upload a tattoo photo, a sketch or a design and pick a style. Compare the lines with your picture and fix anything the AI changed before you go further.
On your stencil’s page, type the width in centimetres or inches, choose A4 or US Letter and download the PDF. The height follows the width, so the design never stretches.
Print at 100% or Actual size, never Fit to page. Measure the 5 cm (or 2 in) check line on the sheet: if it is off, your printer settings are scaling the page.
Run the sheet through your thermal stencil printer or trace it onto transfer paper. If lettering reads backwards on the test, switch on Mirror and print again.
Working in Procreate, Cricut Design Space or Silhouette instead? Download the SVG from the same page and scale it there.
After that, buy a pack once. No monthly plan.
Free
One free stencil, no account needed.
From $4.99
10 stencils for $4.99, paid once.
Yes. That is what it is built for. It removes the skin and background, straightens the design and gives you black lines on white. A sharp, well-lit photo taken straight on works best.
The stencil is pure black on white, which thermal stencil printers and inkjet printers with transfer paper handle well. Download it as a PNG, an SVG or a PDF at the width you need, and print a test sheet before you start on skin.
Clean outline for bold traditional and simple pieces. Detailed linework for fine-line, realism references and pets. Shading guide when you want marks for where the shading goes.
It can. The AI redraws every line, so small details can move, merge or disappear: lettering can change, dotwork can be simplified and a pose can shift a little. Compare the stencil with your photo and fix anything before it goes on skin.
Yes. On your stencil’s page, type how wide the design should be in centimetres or inches, pick A4 or US Letter and download a vector PDF or a 300 DPI PNG. The height follows the width, so nothing is stretched. Print at 100% or Actual size and measure the check line on the sheet.
Yes. The stencil’s page traces your stencil into an SVG right in your browser. Very fine lines and dots can come out a little thicker or thinner than in the PNG, so compare the two before you cut or print.
Only if your transfer method needs it. If lettering comes out backwards on a test print, switch on Mirror on the stencil’s page and print again.
Only if you have the right to. Many tattoo designs and artworks belong to the artist who made them, so ask before you copy their work.
Every stencil uses one from your pack. Packs are a one-time payment and last a full year from purchase.
They are used only to make your stencil. Uploads are deleted within 24 hours. Free stencils are kept for 30 days; stencils from a pack stay with your account until you delete it.
Upload a picture, pick a style, print. The first one is free.